Preparation
Ask the family to wash the baby at home before the visit. In clinic, trim hair around the ear to about 2 cm, then wipe the skin and the main component with alcohol so tapes can adhere.
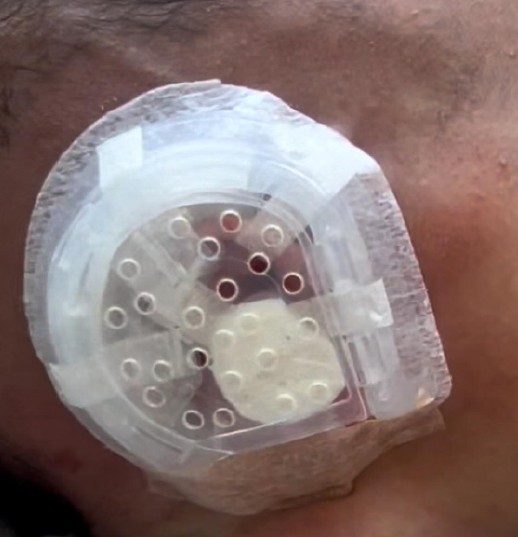
How it works
A physician-led pathway from the Baby Ear Shape Corrector Set user manual. Duration and start time are closely related — earlier usually means a shorter course.
Start nowThe pathway
01
The physician inspects the ear and names the deformity type.
02
Age, severity, and anatomy set a personal plan and expected wear time.
03
The physician places the main component and, if needed, helical or conchal correctors. Application is done only by a doctor.
04
Clinic visits track progress. The set is adjusted when the physician decides it is needed.
In clinic
Application in clinic takes about 30 minutes. Molding is typically complete in about a month, with two or three follow-up visits — always under a physician.
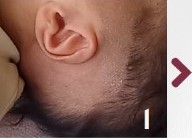
01
Hair around the ear is trimmed so tapes can adhere. The family is asked to wash the baby before the visit.
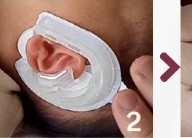
02
The main component is seated around the ear in an anatomically correct position.
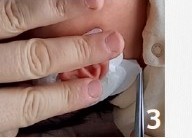
03
Adhesive backing is lifted and the base is secured to clean skin.
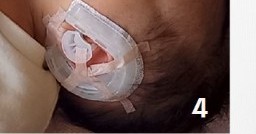
04
Helical and conchal correctors are added according to the deformity. A short trial-fit comes before final placement.
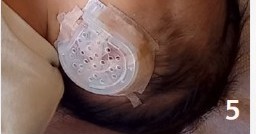
05
The perforated cap is closed. The ear stays visible and the canal stays open, so hearing continues.
Results
English clinical cards from CranioWell doctors. Each case was applied and followed in clinic — not at home. Individual results vary with age at start and deformity type.
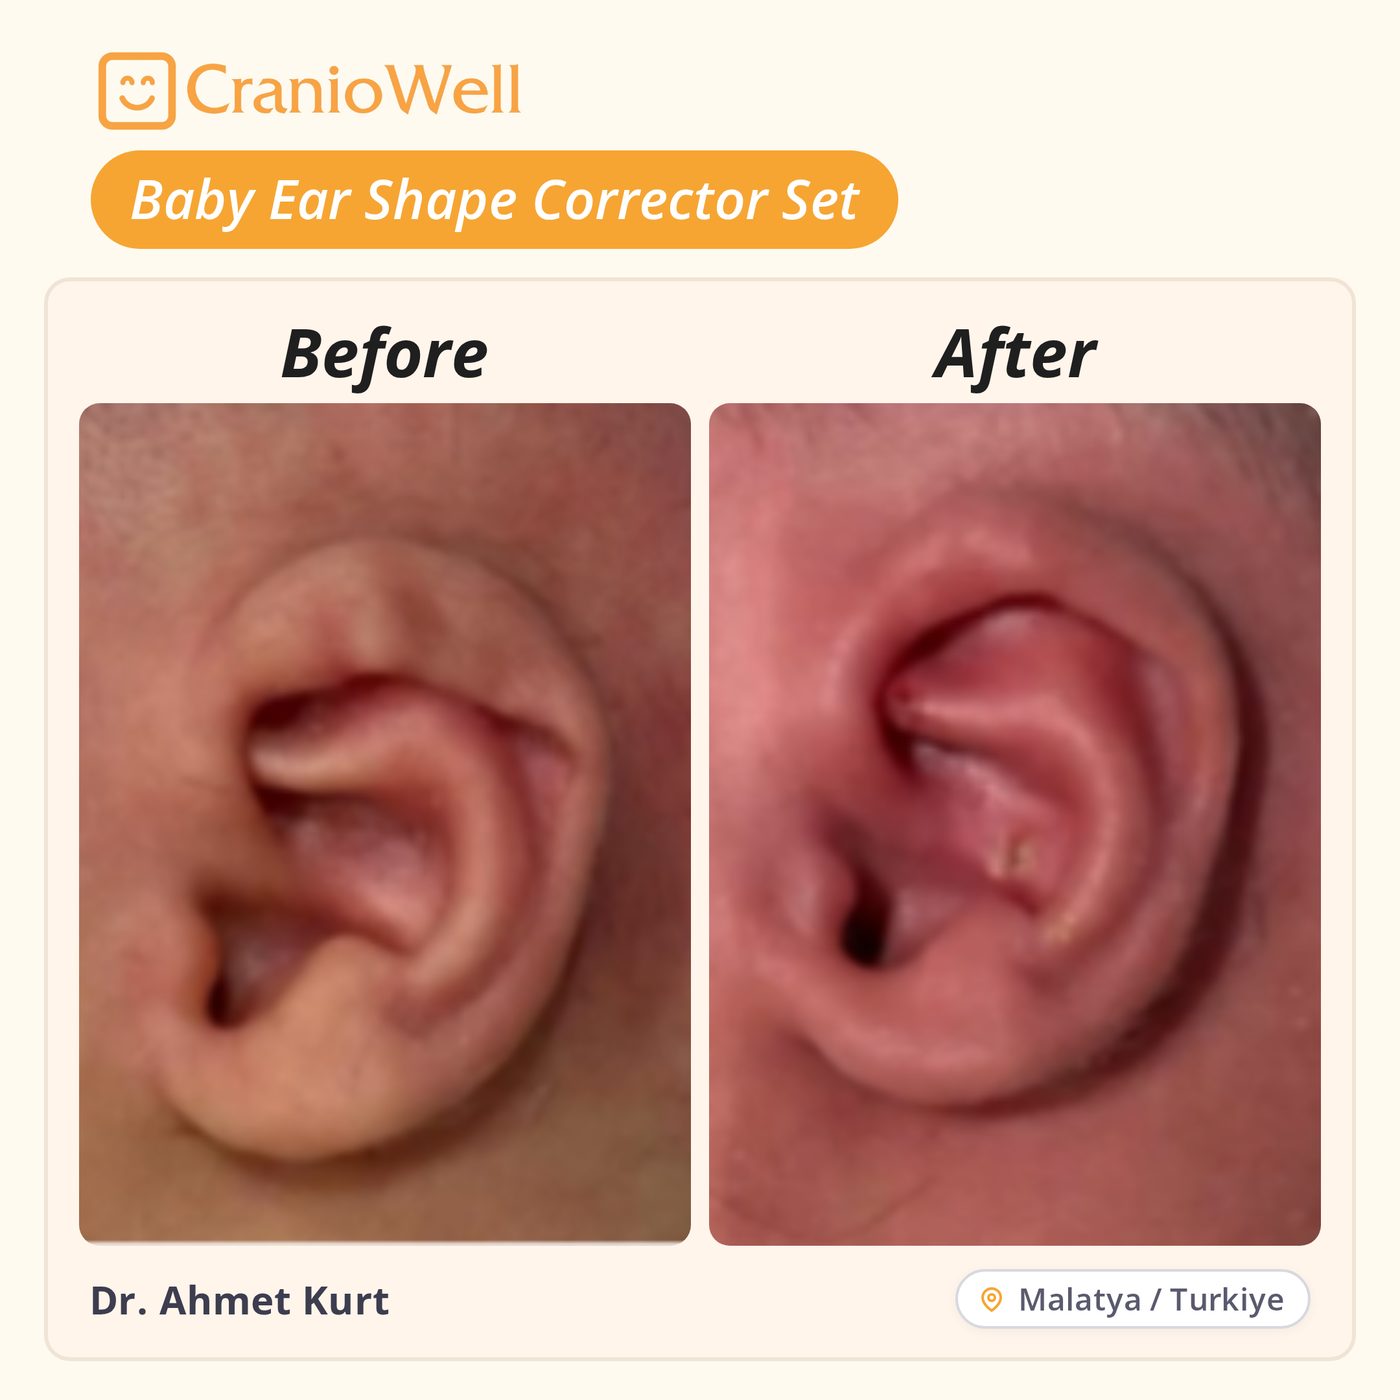
Dr. Ahmet Kurt
Malatya / Türkiye
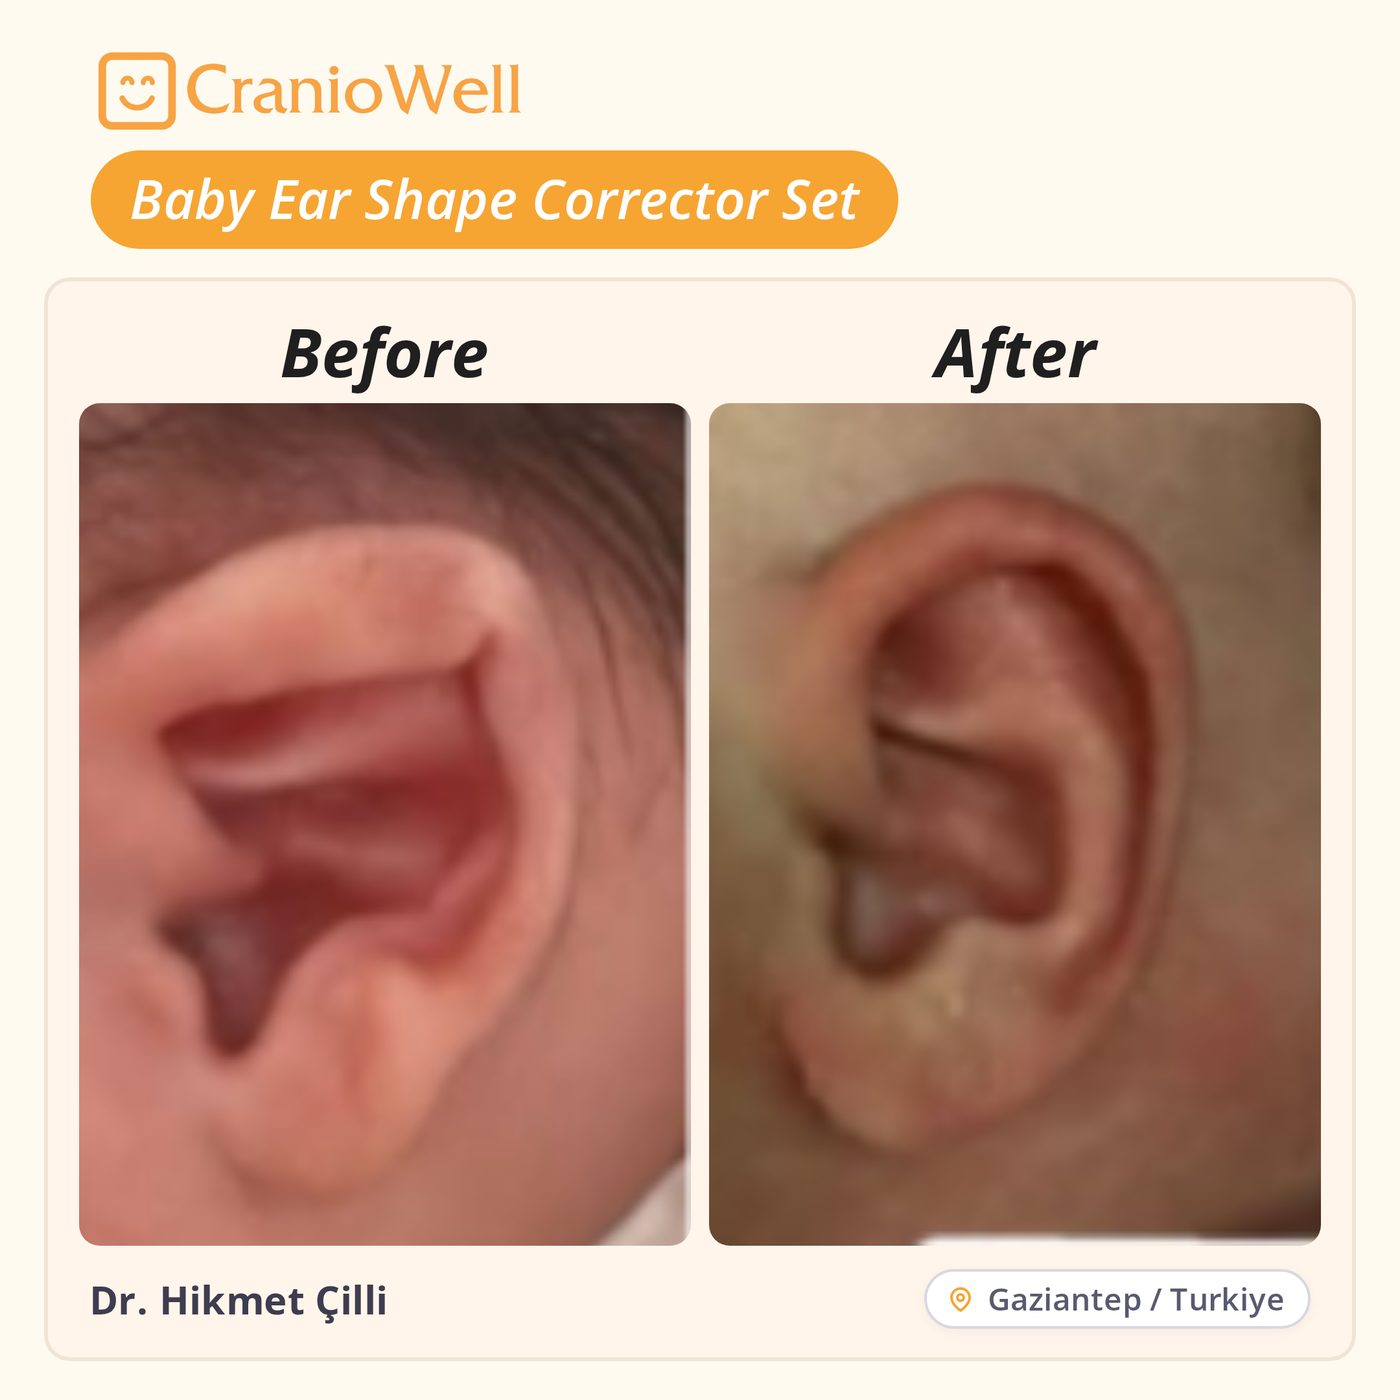
Dr. Hikmet Çilli
Gaziantep / Türkiye
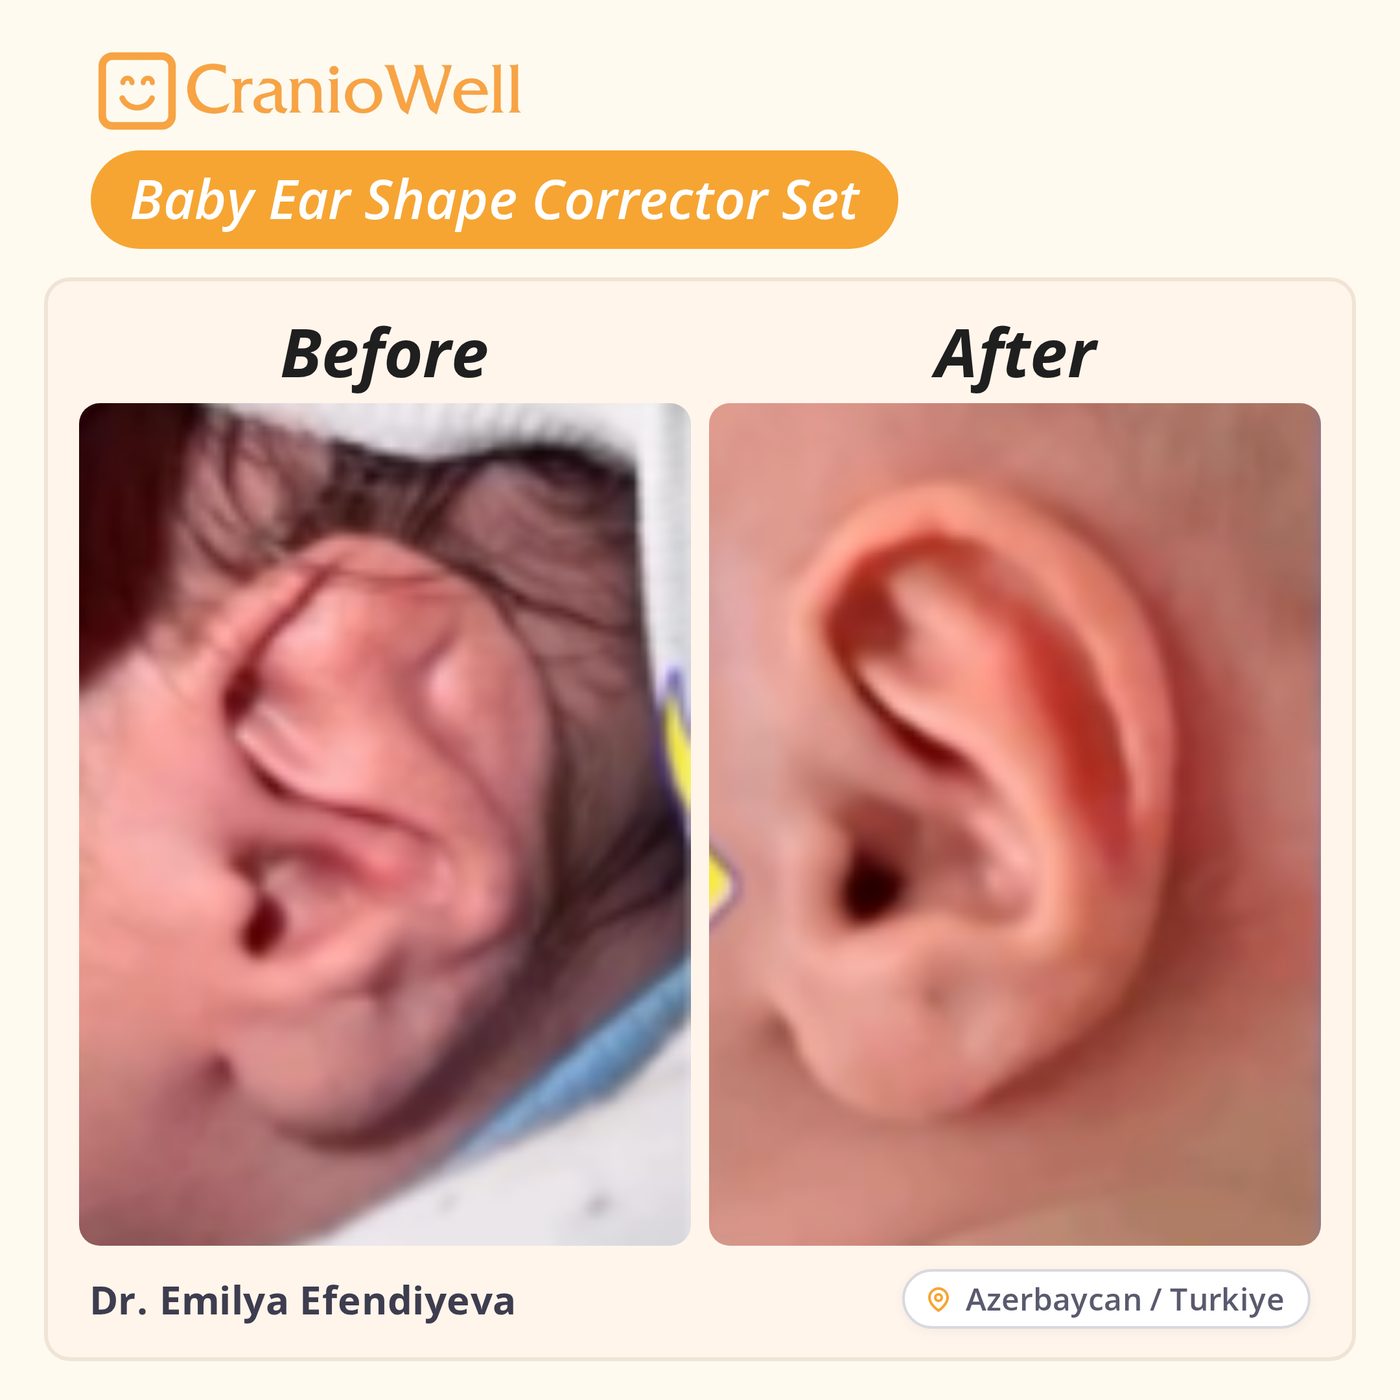
Dr. Emilya Efendiyeva
Azerbaijan / Azerbaijan
Duration
Treatment length and start time are closely related. Figures below follow the clinical protocol used with the set.
3 weeks
Infant aged 7–15 days
4 weeks
Infant aged 3–4 weeks
5 weeks
Infant aged 5 weeks
6 weeks
Infant aged 6 weeks
8 weeks
Infant aged 8 weeks
Inside the kit
The Baby Ear Shaping Kit includes parts of different sizes and functions, chosen by the physician for the type and degree of deformity.
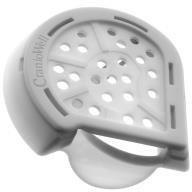
01
Holds the system together. Indentations and protrusions keep the ear in an anatomically correct position. Other kit parts sit inside it according to the deformity.
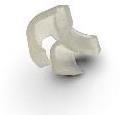
02
Silicone pieces in small, medium, and large for the helical rim. Trial-fit before final placement. Must not overlap the main component’s antihelix protrusion.
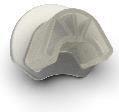
03
Supports swelling in the conchal region, including findings such as conchal crus. Excess pressure can irritate skin — pressure is set by the physician.
04
Added to the conchal corrector when more pressure is needed. Height can be reduced with scissors so it fits the infant’s ear.
05
Secures the main component and other parts to clean, prepared skin.
06
Used where the physician needs extra hold between silicone pieces and skin.
07
For securing and shaping in specific areas when the doctor deems it necessary, and to reinforce tapes that lift slightly.
08
Applied under adhered tapes. After about half a minute, tapes are lifted carefully.
09
Used during taping and shaping so small silicone pieces can be placed precisely.
10
Trims hair around the ear to about 2 cm so tapes can adhere. Used in clinic, not at home.
From the user manual
Summary of the English Baby Ear Shaping Kit user manual (v2, 8 January 2025). The full IFU remains the reference for trained physicians.
Ask the family to wash the baby at home before the visit. In clinic, trim hair around the ear to about 2 cm, then wipe the skin and the main component with alcohol so tapes can adhere.
Seat the main component with the ear in an anatomically correct position. Add helical or conchal pieces by type and degree of deformity. Trial-fit the helical corrector; do not let it overlap the antihelix protrusion.
Remove the rear component for every child under 2 months of age. After 2 months, decide after measurement and evaluation. Hold the protruding area and pull it out slowly — do not use force.
Explain the procedure before you start. Side effects are uncommon. Ask them to check tapes and the ear from the outside every day. The main component and cap are transparent so the ear can be watched.
A slight odor from a closed ear environment can be normal. A strong or abnormal odor means the kit should be checked and removed if needed. Saliva or vomit under tapes can lead to infection — schedule regular checks.
Unusual crying or apparent pain: contact the doctor promptly. Slight tape lift: reinforce with micropore tape from the kit. If the main component comes off completely, the family should come in as soon as possible.
In practice

Early
The set is used especially in the first two months. Starting as soon as the ear is noticed — best in the first month — gives the highest chance of correction.
In clinic
The kit should be applied and monitored by a doctor. Indication, placement, and discharge stay with the treating physician — not with the family at home.

Registered
Designed at Hacettepe Teknokent, Ankara. Physicians now apply it in Türkiye, South Korea, Azerbaijan, Greece, and Estonia — and we want the same option for babies in every country.
Parents, doctors, and distributors can start an enquiry. Clinicians can also request training videos or an on-site workshop in Ankara.